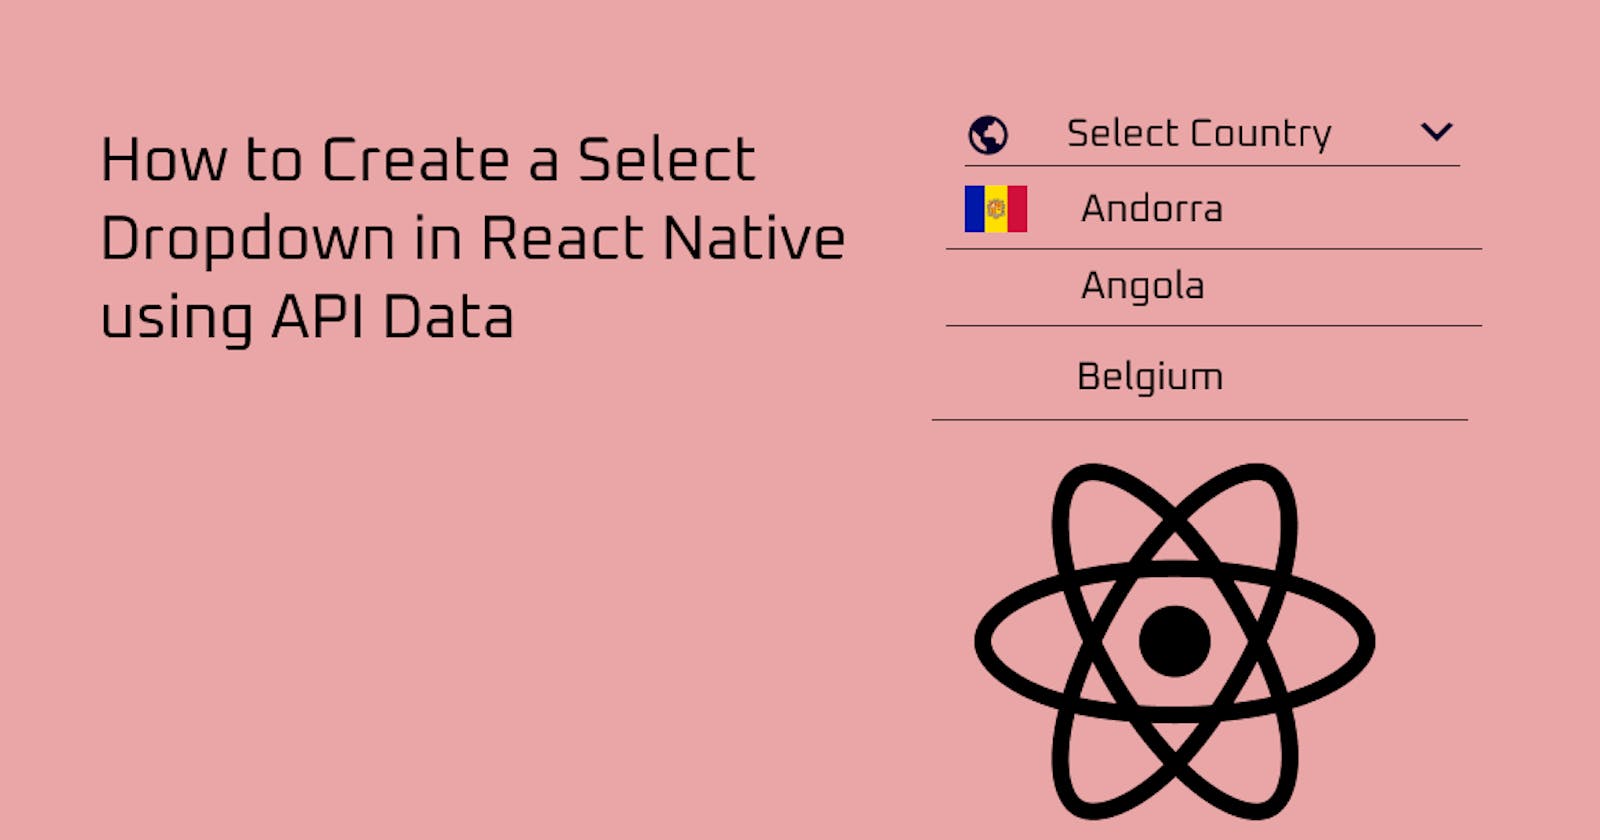


Introduction
In this tutorial, we will learn how to create select drop down in react native using data fetched from restcountriesapi. To get started we will initiate our expo app using
expo init select-dropdown
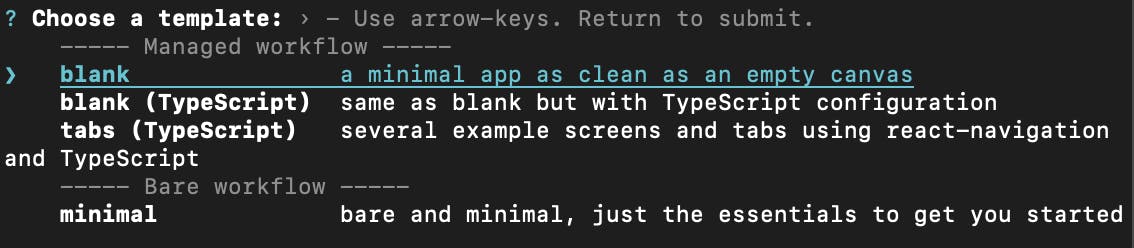
Select the blank option and press enter to install the blank version of the expo starter template. After Installation, run expo start to start the Metro terminal then click on run ios/android to start the emulator.
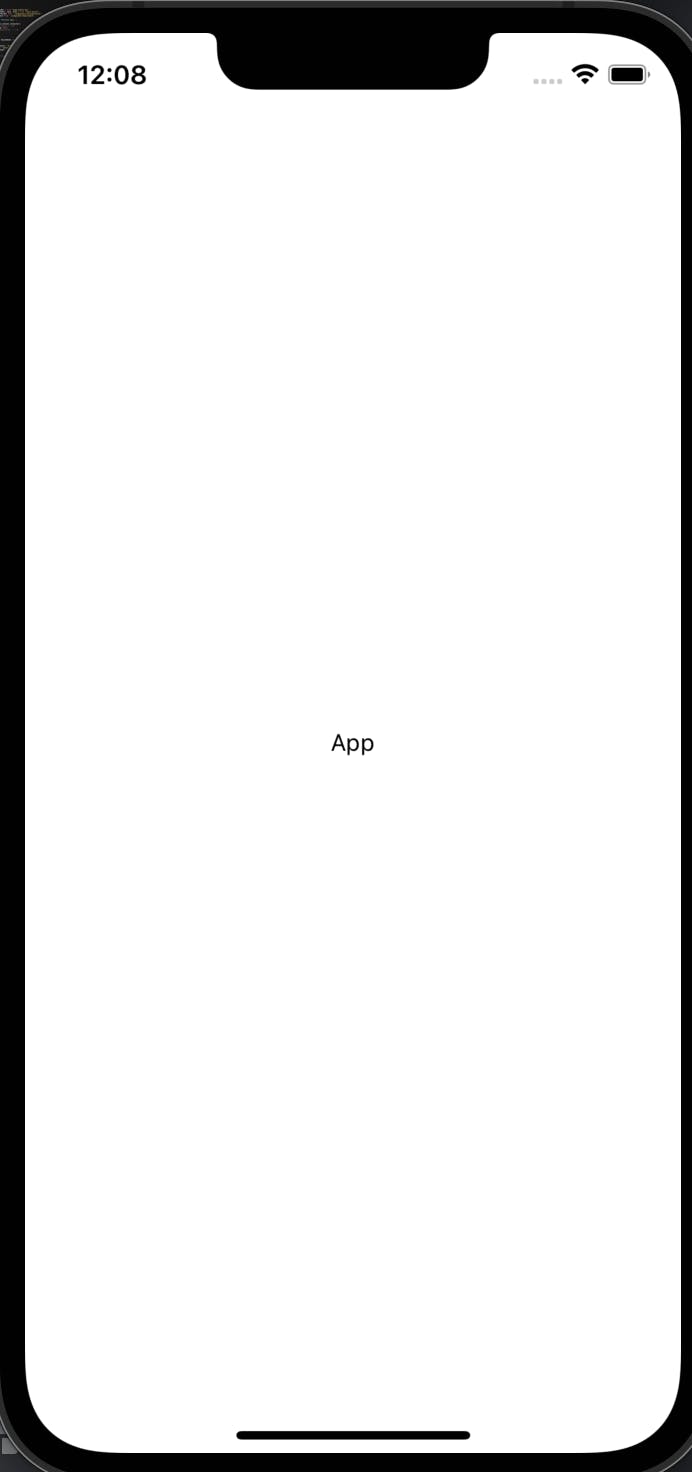
Now we should have our starter project like this:
import React form 'react'
import { StyleSheet, Text, View } from "react-native";


export default function App() {
  return (
    <View style={styles.container}>
     <Text>App</Text>
    </View>
  );
}

const styles = StyleSheet.create({
  container: {
    flex: 1,
    backgroundColor: "#fff",
    alignItems: "center",
    justifyContent: "center",
  },


});
and have it like this in our simulator:
Installing Dependencies
For this tutorial we will be using three (3) dependencies which are: expo-vector-icons and react native select dropdown and axios to make the API request.
yarn add react-native-select-dropdown @expo/vector-icons axios
Fetching API Data
As previously mentioned, the data we are going to populate our dropdown with will be coming from restcountriesapi. To fetch our data, we will be using the useEffect hook to populate the data when the component mounts.
import React, {useState, useEffect} form 'react'
import { StyleSheet, Text, View } from "react-native";
import axios from 'axios';


export default function App() {

 const [countries, setCountries] = useState([]);

 useEffect(() => {
    axios
      .get("https://restcountries.com/v3.1/all")
      .then((res) => {
       console.log(res.data);
      })
      .catch((err) => {
        console.log(err);
      });
  }, []);
  return (
    <View style={styles.container}>
     <Text>App</Text>
    </View>
  );
}

const styles = StyleSheet.create({
  container: {
    flex: 1,
    backgroundColor: "#fff",
    alignItems: "center",
    justifyContent: "center",
  },
});
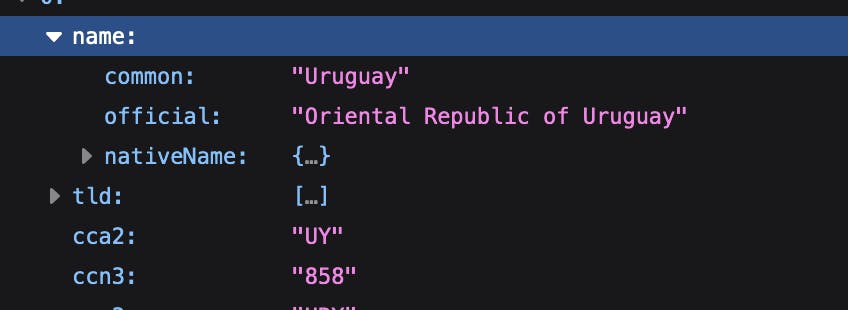
Now let's log the data we are fetching in our console to be sure we are getting the array of data back which we can see in the Metro terminal.
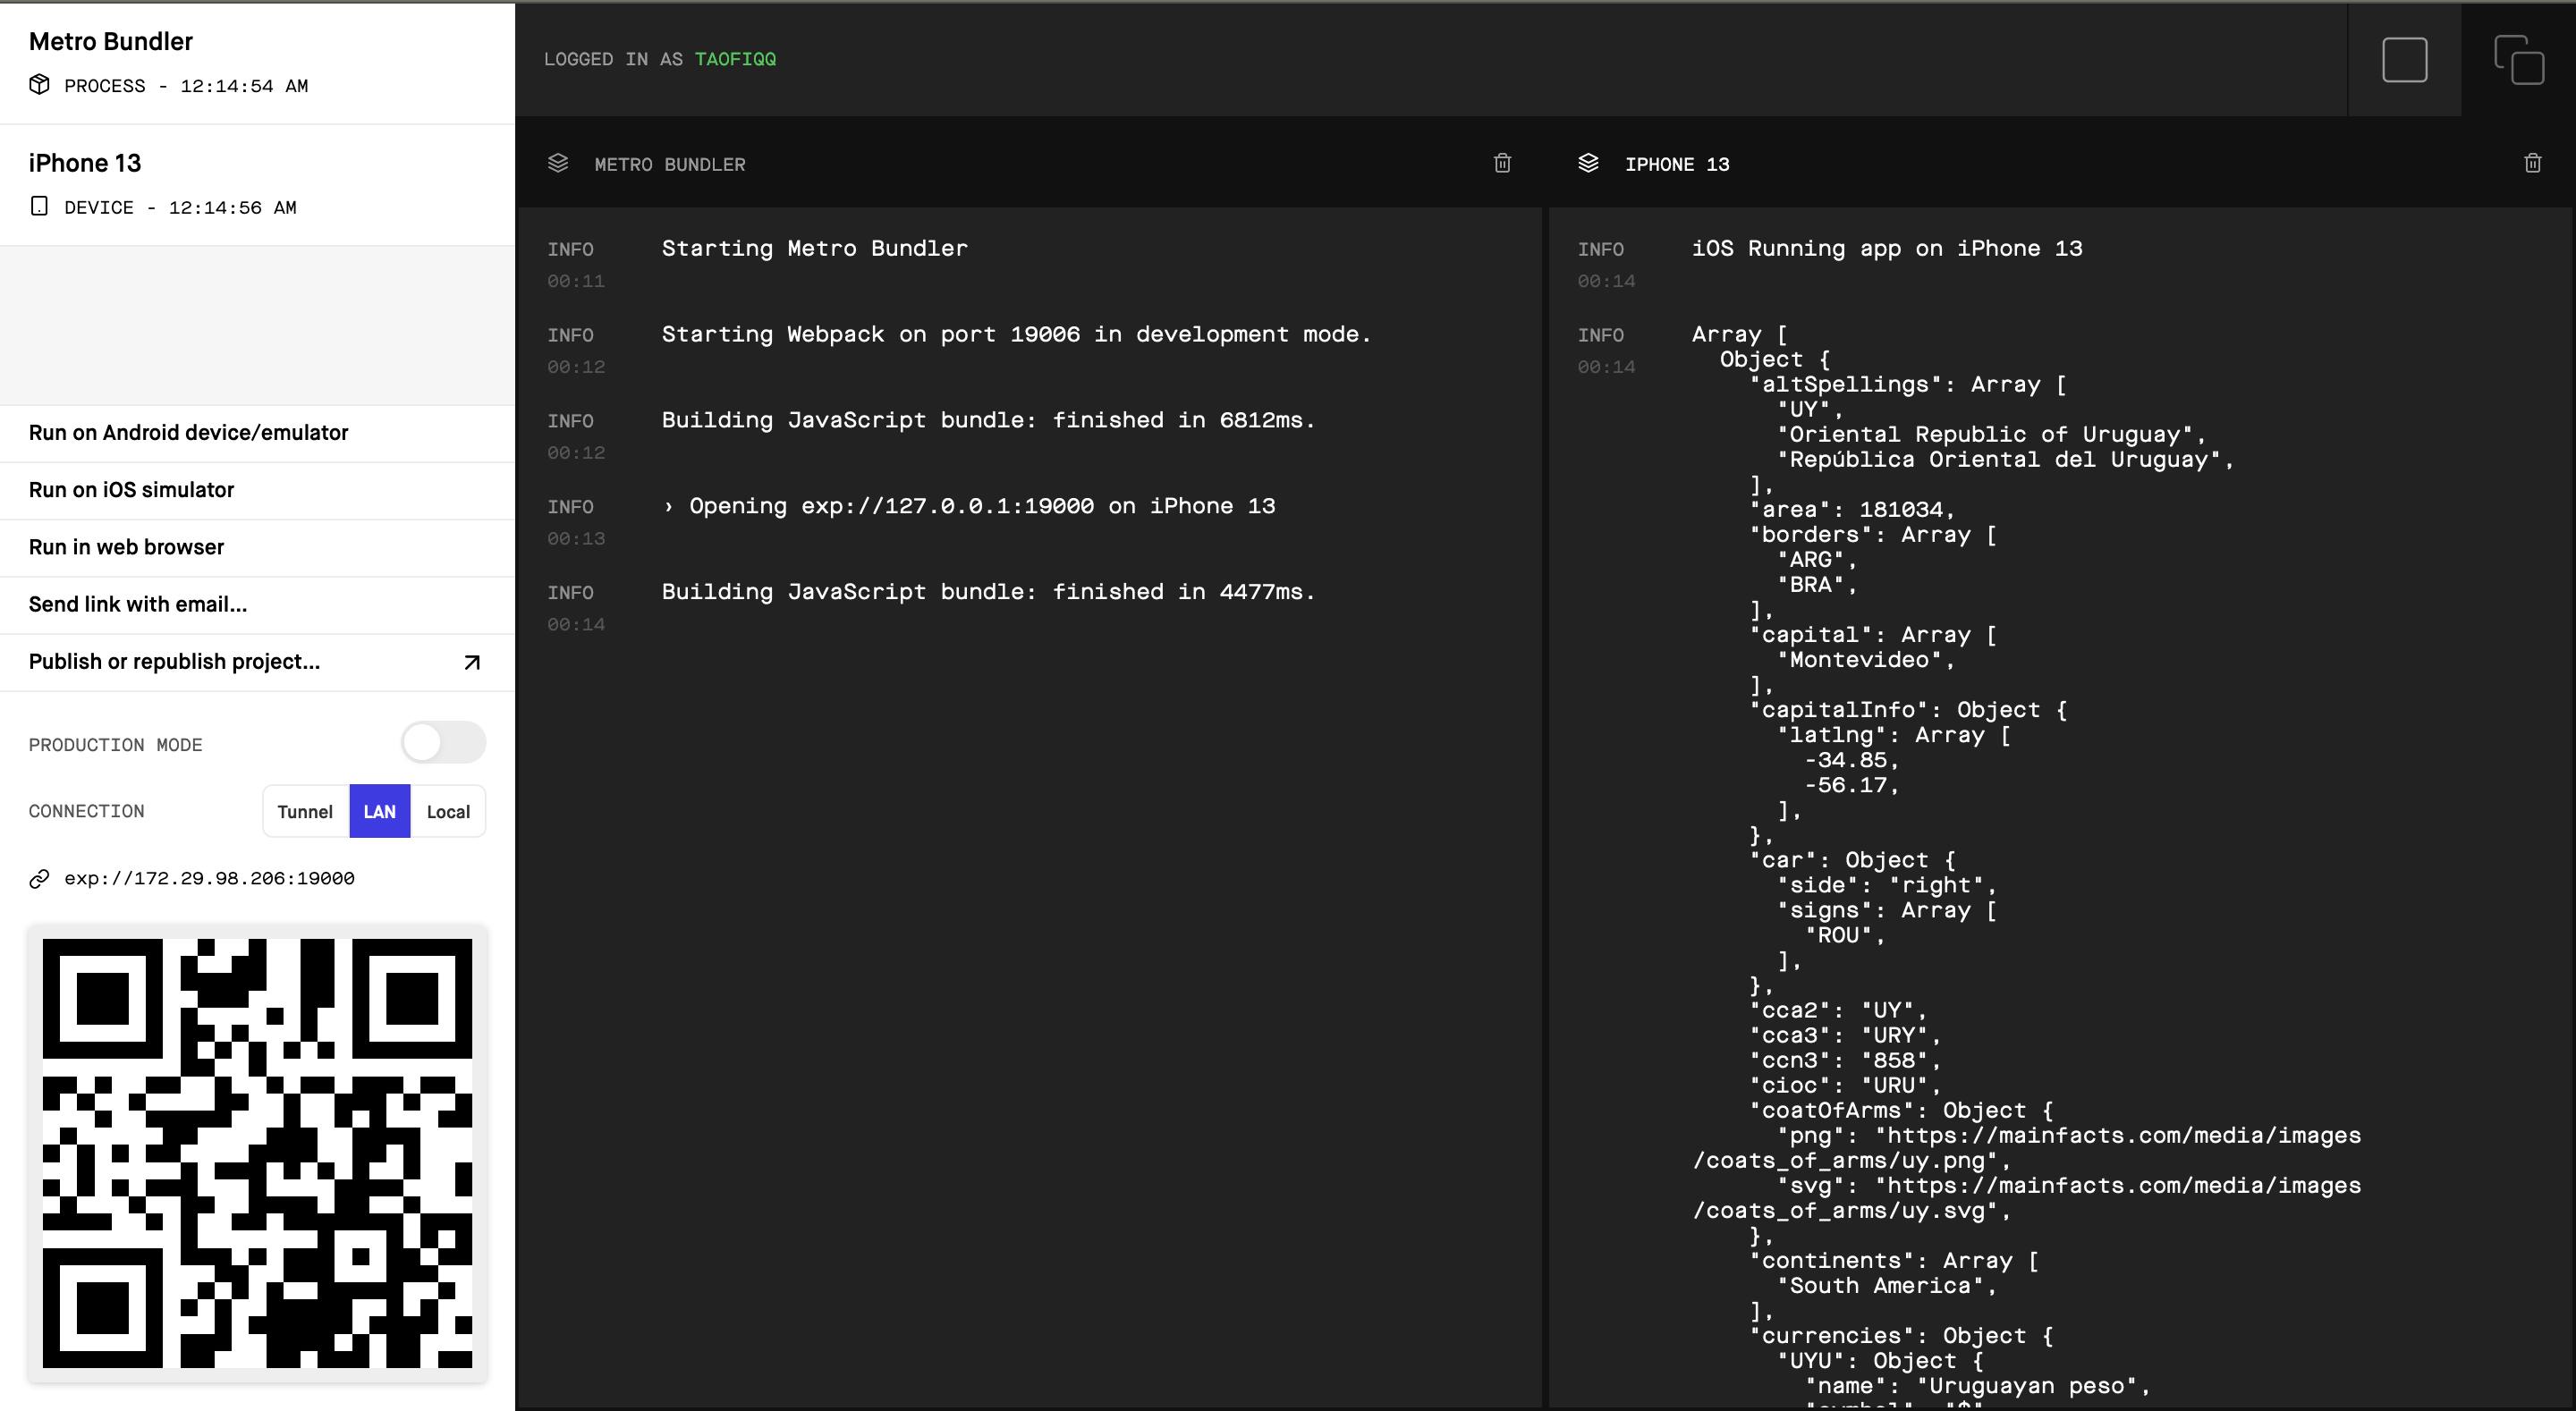
You can see on the right side the data we are logging in the console. To see it properly and fully you can go to this link.
Select Dropdown Implementation
We will be using the select dropdown library for our implementation. Before we begin, lets go through the props we will be using for our implementation.
data - This is the array of data that will be represented in our dropdown. In our case it is an array of objects that we are getting back from our API.
onSelect - function receives selected item and its index in data array.
buttonStyle - style object for the button
renderCustomizedButtonChild - function receives selected item and its index, this function returns a React component as a child for dropdown button buttonStyle should be used for parent button view style.
renderCustomizedRowChild - function receives item and its index, this function returns React component as a child for customized row rowStyle should be used for parent row view style.
Now, lets implement all these props in our SelectDropdown component.
import React, {useState, useEffect} form 'react'
import { StyleSheet, Text, View } from "react-native";
import SelectDropdown from "react-native-select-dropdown";
import axios from "axios";
import Ionicons from "@expo/vector-icons/Ionicons";
import FontAwesome from "@expo/vector-icons/FontAwesome";


export default function App() {

 const [countries, setCountries] = useState([]);

 useEffect(() => {
    axios
      .get("https://restcountries.com/v3.1/all")
      .then((res) => {
       setCountries(res.data)
      })
      .catch((err) => {
        console.log(err);
      });
  }, []);
  return (
    <View style={styles.container}>
    <Text>React Native Select Dropdown</Text>
   <SelectDropdown
   data={countries}
   buttonStyle={styles.selectContainer}
    onSelect={(selectedItem, index) => {
          console.log(selectedItem, index);
        }}
    />


    </View>
  );
}

const styles = StyleSheet.create({
  container: {
    flex: 1,
    backgroundColor: "#fff",
    alignItems: "center",
    justifyContent: "center",
  },

selectContainer: {
    backgroundColor: "#fff",
    borderWidth: 1,
    borderTopWidth: 0,
    borderLeftWidth: 0,
    borderRightWidth: 0,
    width: 300,
  },
});
Here we used data and buttonStyle and onSelect.
Firstly, we pass the countries state (the array of data we are fetching) to the
dataprops.The
buttonStyleis used to style the select box layout.The onSelect props will receive our selected data from the dropdown and update our select dropdown to the country selected.
Also we have
setCountriestores.datathat we are getting back so our countries state is populated with the array data.
renderCustomizedButtonChild={(selectedItem, index) => {
return (
<View style={styles.inputContainer}>
<View style={styles.left}>
{selectedItem ? (
<Text style={styles.flag}>{selectedItem.flag}</Text>
 ) : (
 <Ionicons
name="md-earth-sharp"
color={"green"}
size={32}
style={styles.icon}
 />
<Text style={styles.name}>
{selectedItem ? selectedItem.name.common : "Select country"}
</Text>
</View>
<FontAwesome name="chevron-down" color={"#444"} size={18} />
</View>
);
}}


inputContainer: {
    flexDirection: "row",
    alignItems: "center",
    justifyContent: "space-between",
  },
  left: {
    flexDirection: "row",
    alignItems: "center",
    justifyContent: "center",
  },
flag: {
    fontSize: 32,
    marginRight: 10,
  },
  name: {
    fontSize: 18,
  },
  icon: {
    marginRight: 10,
  },
The renderCustomizedButtonChild is the output on our customized text input. As previously mentioned it takes in selectedItem and index and returns a react component as a child. In the View we are returning as a react component, we are rendering 3 values, the flag icon and the text and the dropdown arrow.
Firstly, we check if an item has been selected, if an item has been selected that means a country has been selected then it should render the country flag, otherwise it should render an Icon (world Icon).
Secondly, we are checking for the text if has been selected, then render the name of country selected, otherwise if no country has been selected yet, then render Select Country.
renderCustomizedRowChild={(item, index) => {
return (
<View style={styles.dropdownContainer}>
<Text style={styles.dropdownFlag}>{item.flag}</Text>
<Text style={styles.dropdownName}>{item.name.common}</Text>
</View>
 );
 }}

dropdownContainer: {
    flexDirection: "row",
    alignItems: "center",
    marginHorizontal: 10,
  },
  dropdownFlag: {
    fontSize: 38,
    marginRight: 10,
  },
  dropdownName: {
    fontSize: 18,
  },
Remember we said the renderCustomizedRowChild receives item and index and will return a react component as child. Here, we are mapping over our array of objects we passed into data earlier and then rendering our dropdown content where we will have the two items we want to display : country name and their respective flags.
Now, let's take a look at the result of our code:
We can see our select dropdown have been populated with the countries we are getting from the API. But as we can see these countries are not arranged in alphabetical order which might not really be good for a user as they want to quickly navigate to their country's alphabet. To fix this we use the array method sort directly on the array data we are getting back.
 data={countries.sort((a, b) =>
          a.name.common.localeCompare(b.name.common)
        )}
According to the MDN Docs,
This sort method sorts the elements in an array and return the sorted array. While the compares a string to another, returning a number (negative, 0, positive) that tells if the current string is lower, equal or greater than the string passed as argument, according to the locale.
The .name.common is coming from the different countries objects in our data array.
Now after implementing the sort function, we will have all our country options sorted alphabetically like this:
Thank you for reading and hope you have learnt how to implement select dropdown in react native. You can get the full source code here in my github link.