How to Use Custom (Google) Fonts in React Native (React Native CLI)

Hi, 👋🏿 I'm Taofiq, I design and build web and mobile applications
Introduction
When building an application, the choice of font plays a key role in building a great user interface for your users. In this article, we are going to talk about how we can make use of custom fonts (specifically GOOGLE FONTS) in our React Native Applications. We'll learn about this custom fonts addition in our apps by building a mini project and see how they works.
1. Setting up our Project
To kick-start, let's create our project in react native CLI by running the code below:
npx react-native init customfonts
2. Downloading the Fonts you need in your App
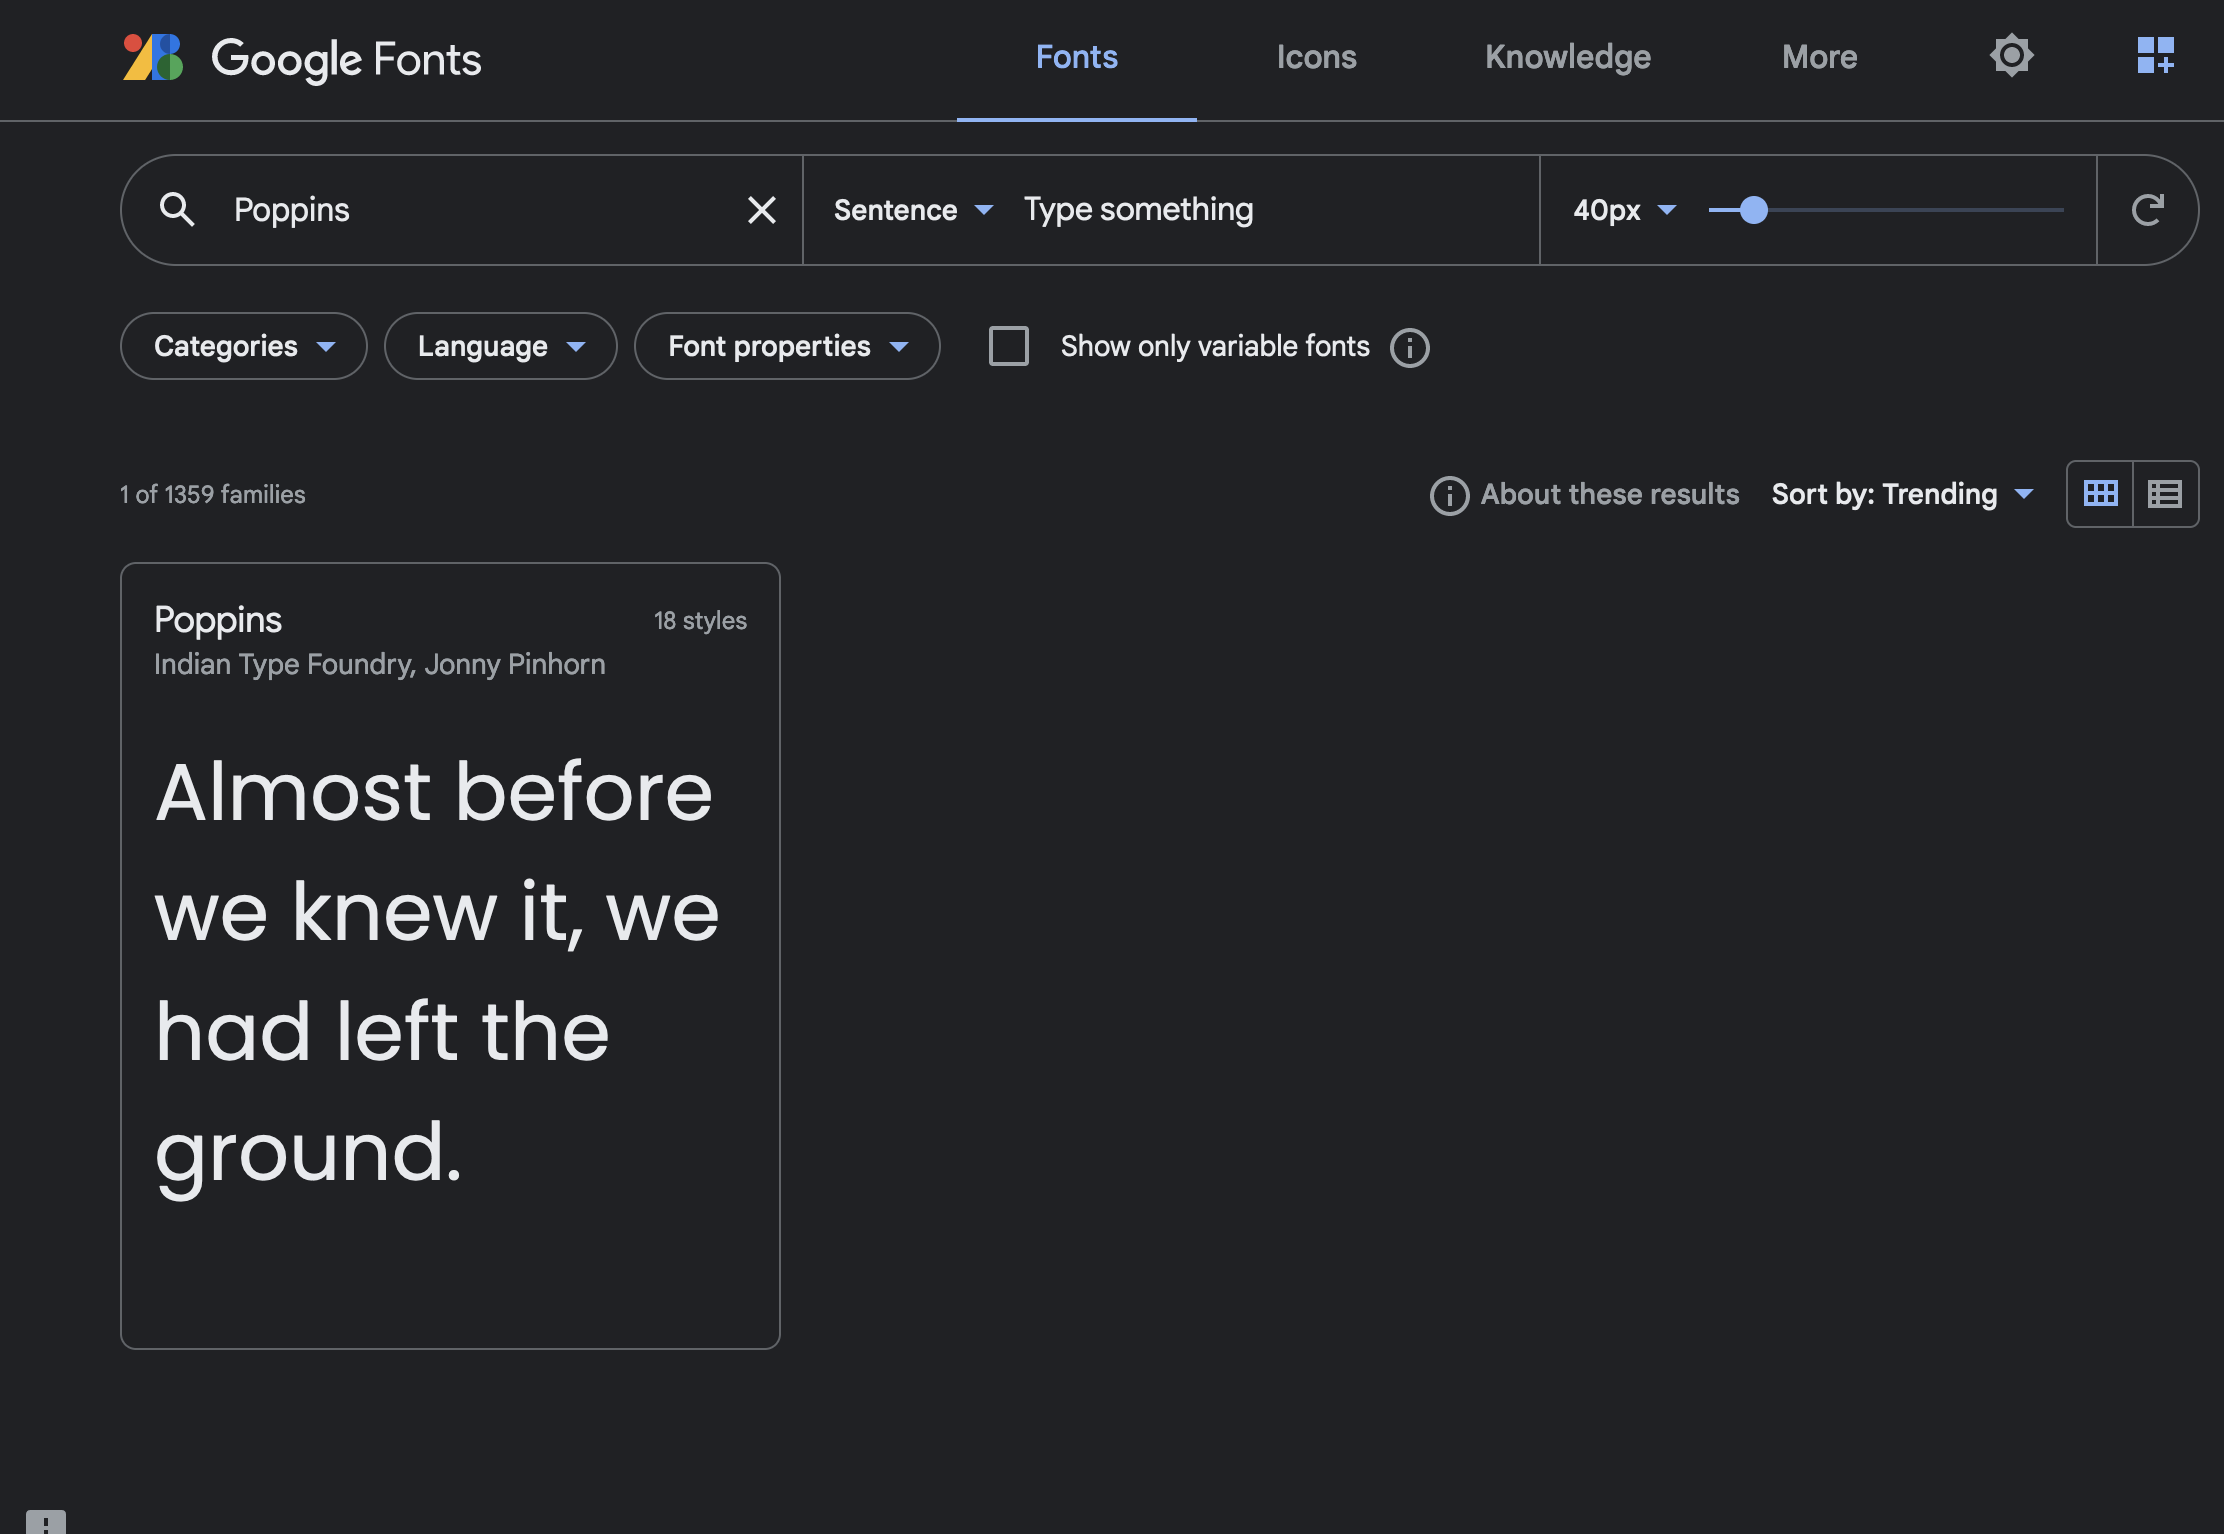
We will be using Google Fonts in this tutorial. So head to the Google Fonts and download the font of your choice. I will be downloading Poppins and Roboto-Mono.
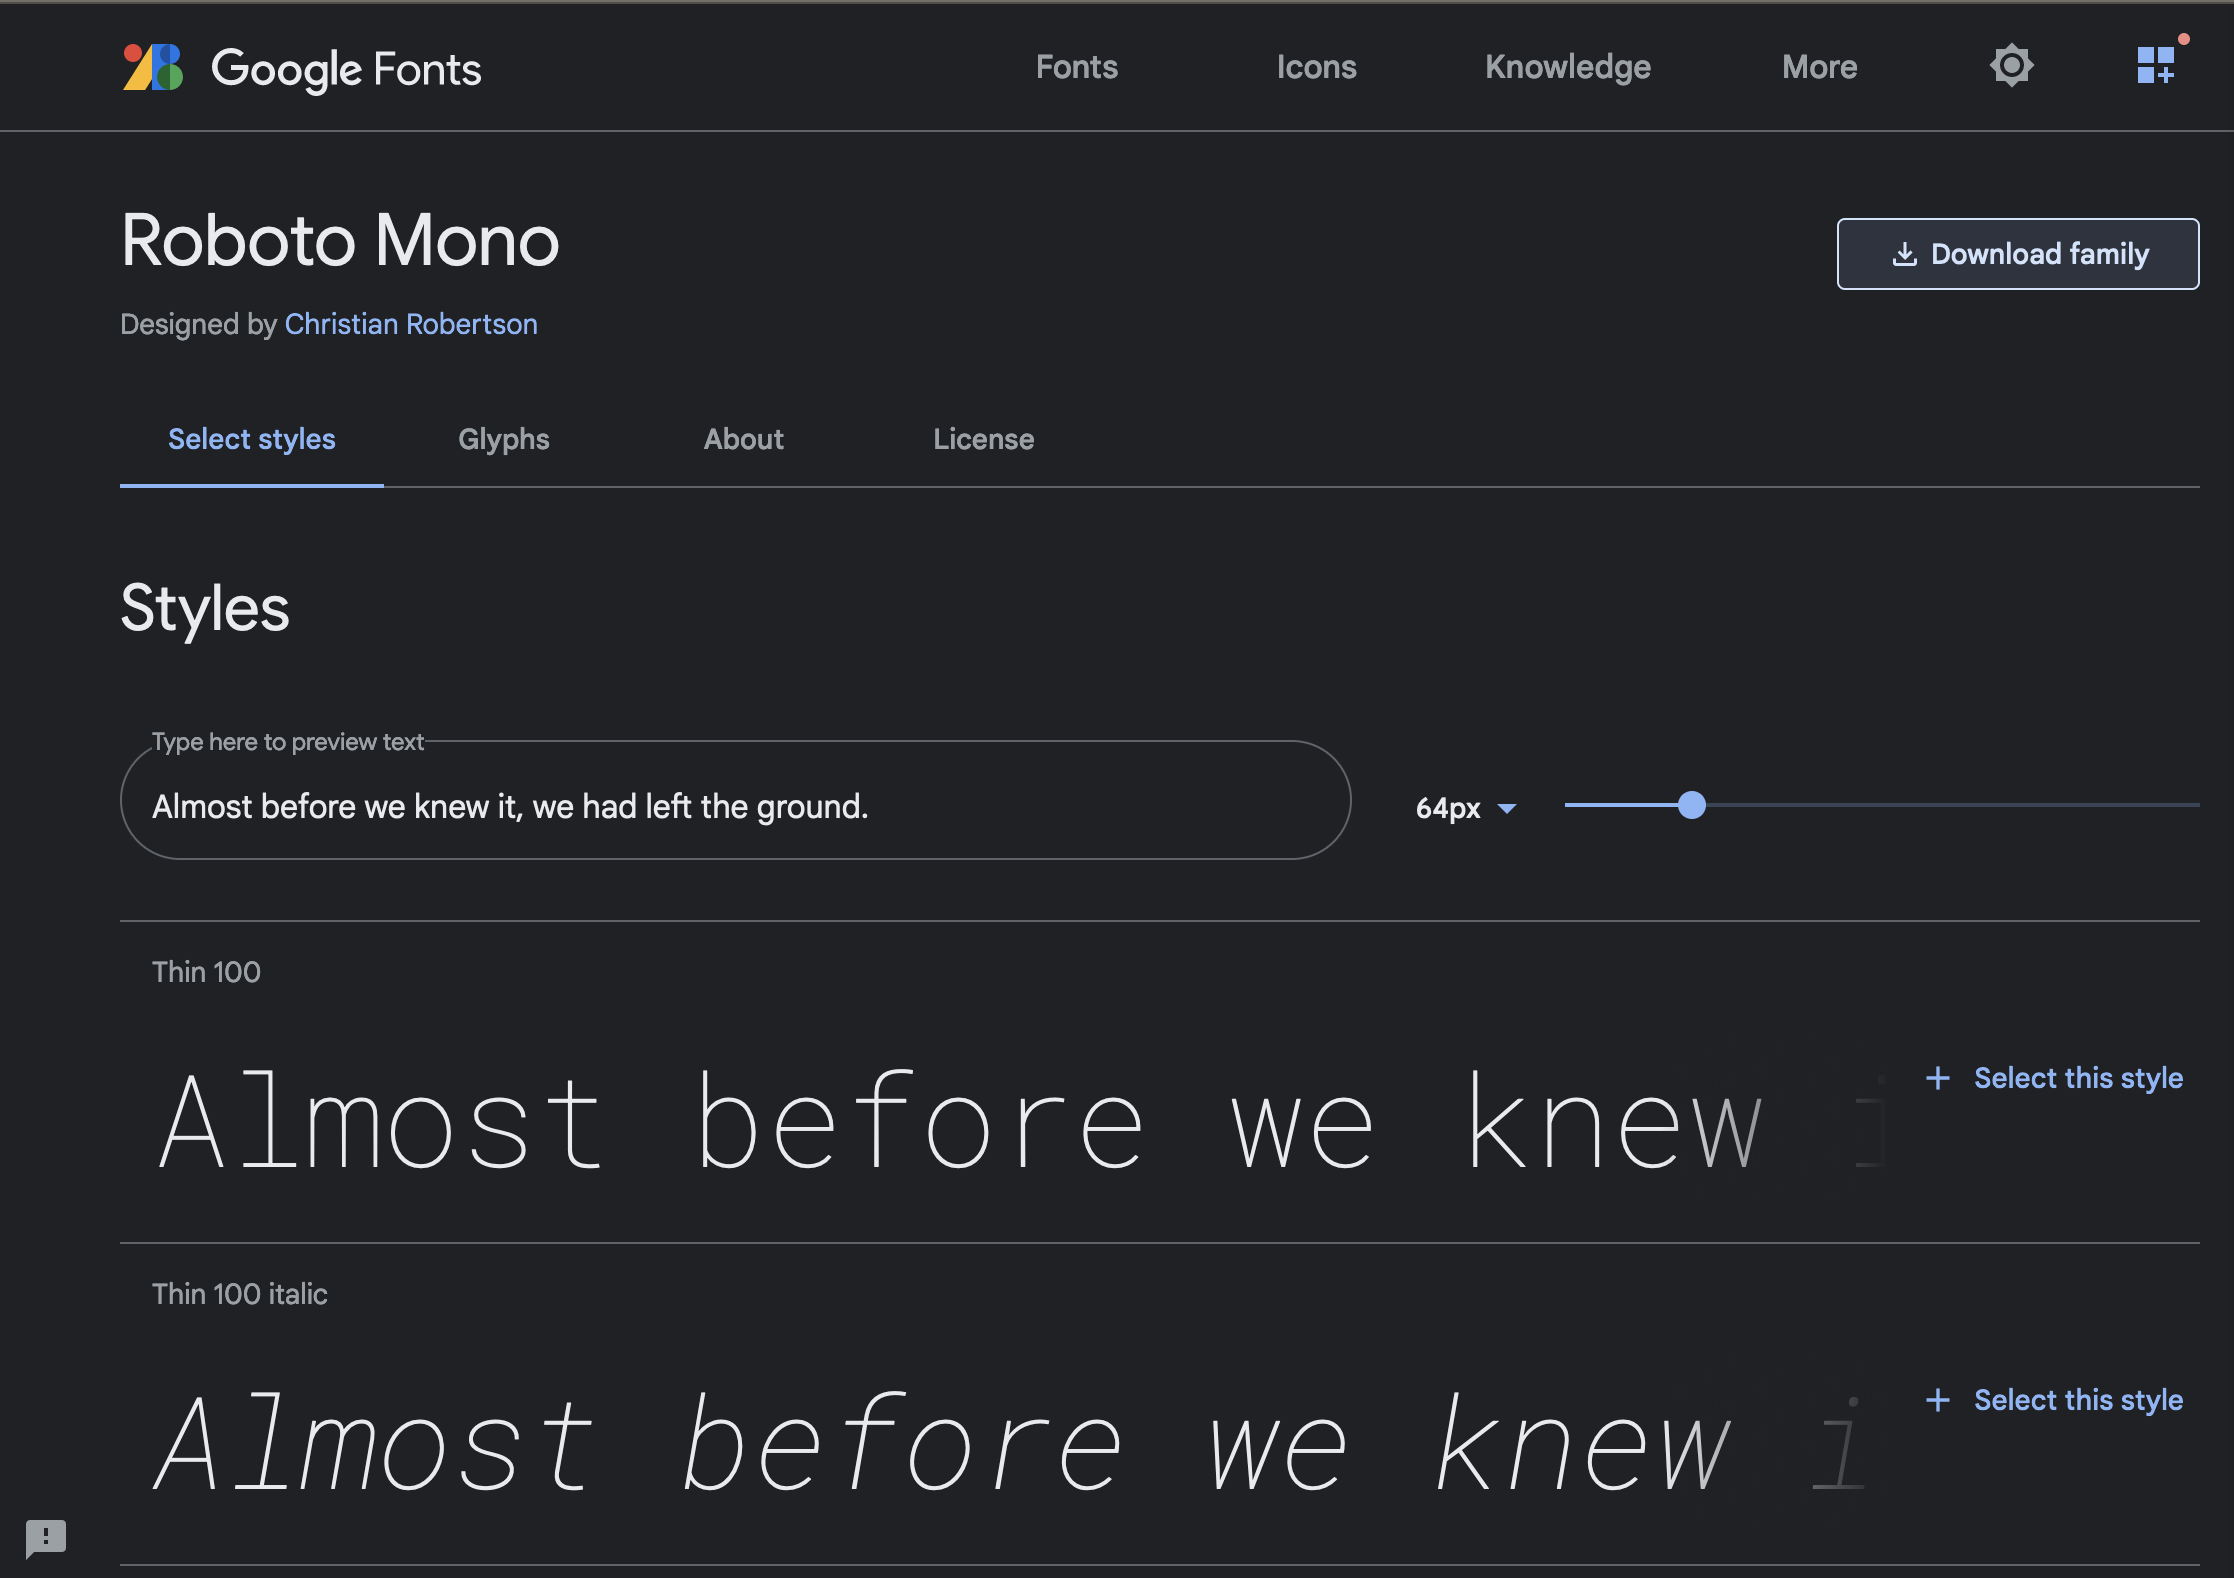
On the Google Fonts page, you will need to search the fonts you want, then click on the font when you found it and select Download Family just like in the image below:
The result of this will download a zip file to your PC, then you will need to extract them and have the .tff files.
3. Arranging the Folder Structure
After downloading and extracting the fonts, then we can go back to our VsCode and create an assets folder where we will store the fonts. Inside the assets folder we will have a fonts folder and place all the extracted fonts in each folder, like in the image below:

4. Creating a Config file
Inside the root directory of our project we will create a new file named react-native.config.js and we will include the code below inside the file.
    module.exports = {
    project: {
        ios: {},
        android: {},
    },
    assets: ['./assets/fonts']
   };
5. Linking the Fonts
Now that we have set up the config file, we can then link the fonts in our project using this command line:
react-native link
React Native 0.69 update
react-native has been removed, please use:
npx react-native-asset
to automatically link the font assets.
You should see this success message:

6. Use the font in the Project
Now we can use the Poppins font in our project like this:
This is how our project looks now:
import {View, Text, StyleSheet} from 'react-native';
import React from 'react';

const App = () => {
  return (
    <View style={styles.container}>
     <Text style={styles.text}>App</Text>
      <Text style={styles.containerText}>App</Text>
    </View>
  );
};

const styles = StyleSheet.create({
  container: {
    flex: 1,
    backgroundColor: '#fff',
    alignItems: 'center',
    justifyContent: 'center',
  },

});
export default App;

Now, we add the fontFamily of Poppins and Roboto-Mono to both the text and containerText like this:
import {View, Text, StyleSheet} from 'react-native';
import React from 'react';

const App = () => {
  return (
    <View style={styles.container}>
      <Text style={styles.text}>App</Text>
      <Text style={styles.containerText}>App</Text>
    </View>
  );
};

const styles = StyleSheet.create({
  container: {
    flex: 1,
    backgroundColor: '#fff',
    alignItems: 'center',
    justifyContent: 'center',
  },
  text: {
    fontFamily: 'RobotoMono-Regular',
  },
  containerText: {
    fontSize: 20,
    fontFamily: 'Poppins-Light',
  },
});
export default App;
Now we have a result of this after implementing this code in the App.js.

Conclusion
Thank you for reading, and hope the article has helped you understand how to use custom fonts in your react-native mobile apps.


